Publishing Plugins to the Gradle Plugin Portal
Publishing your plugin is the primary way to make it available to other builds. While you can publish to private repositories to restrict access, publishing to the Gradle Plugin Portal makes your plugin discoverable and usable worldwide.
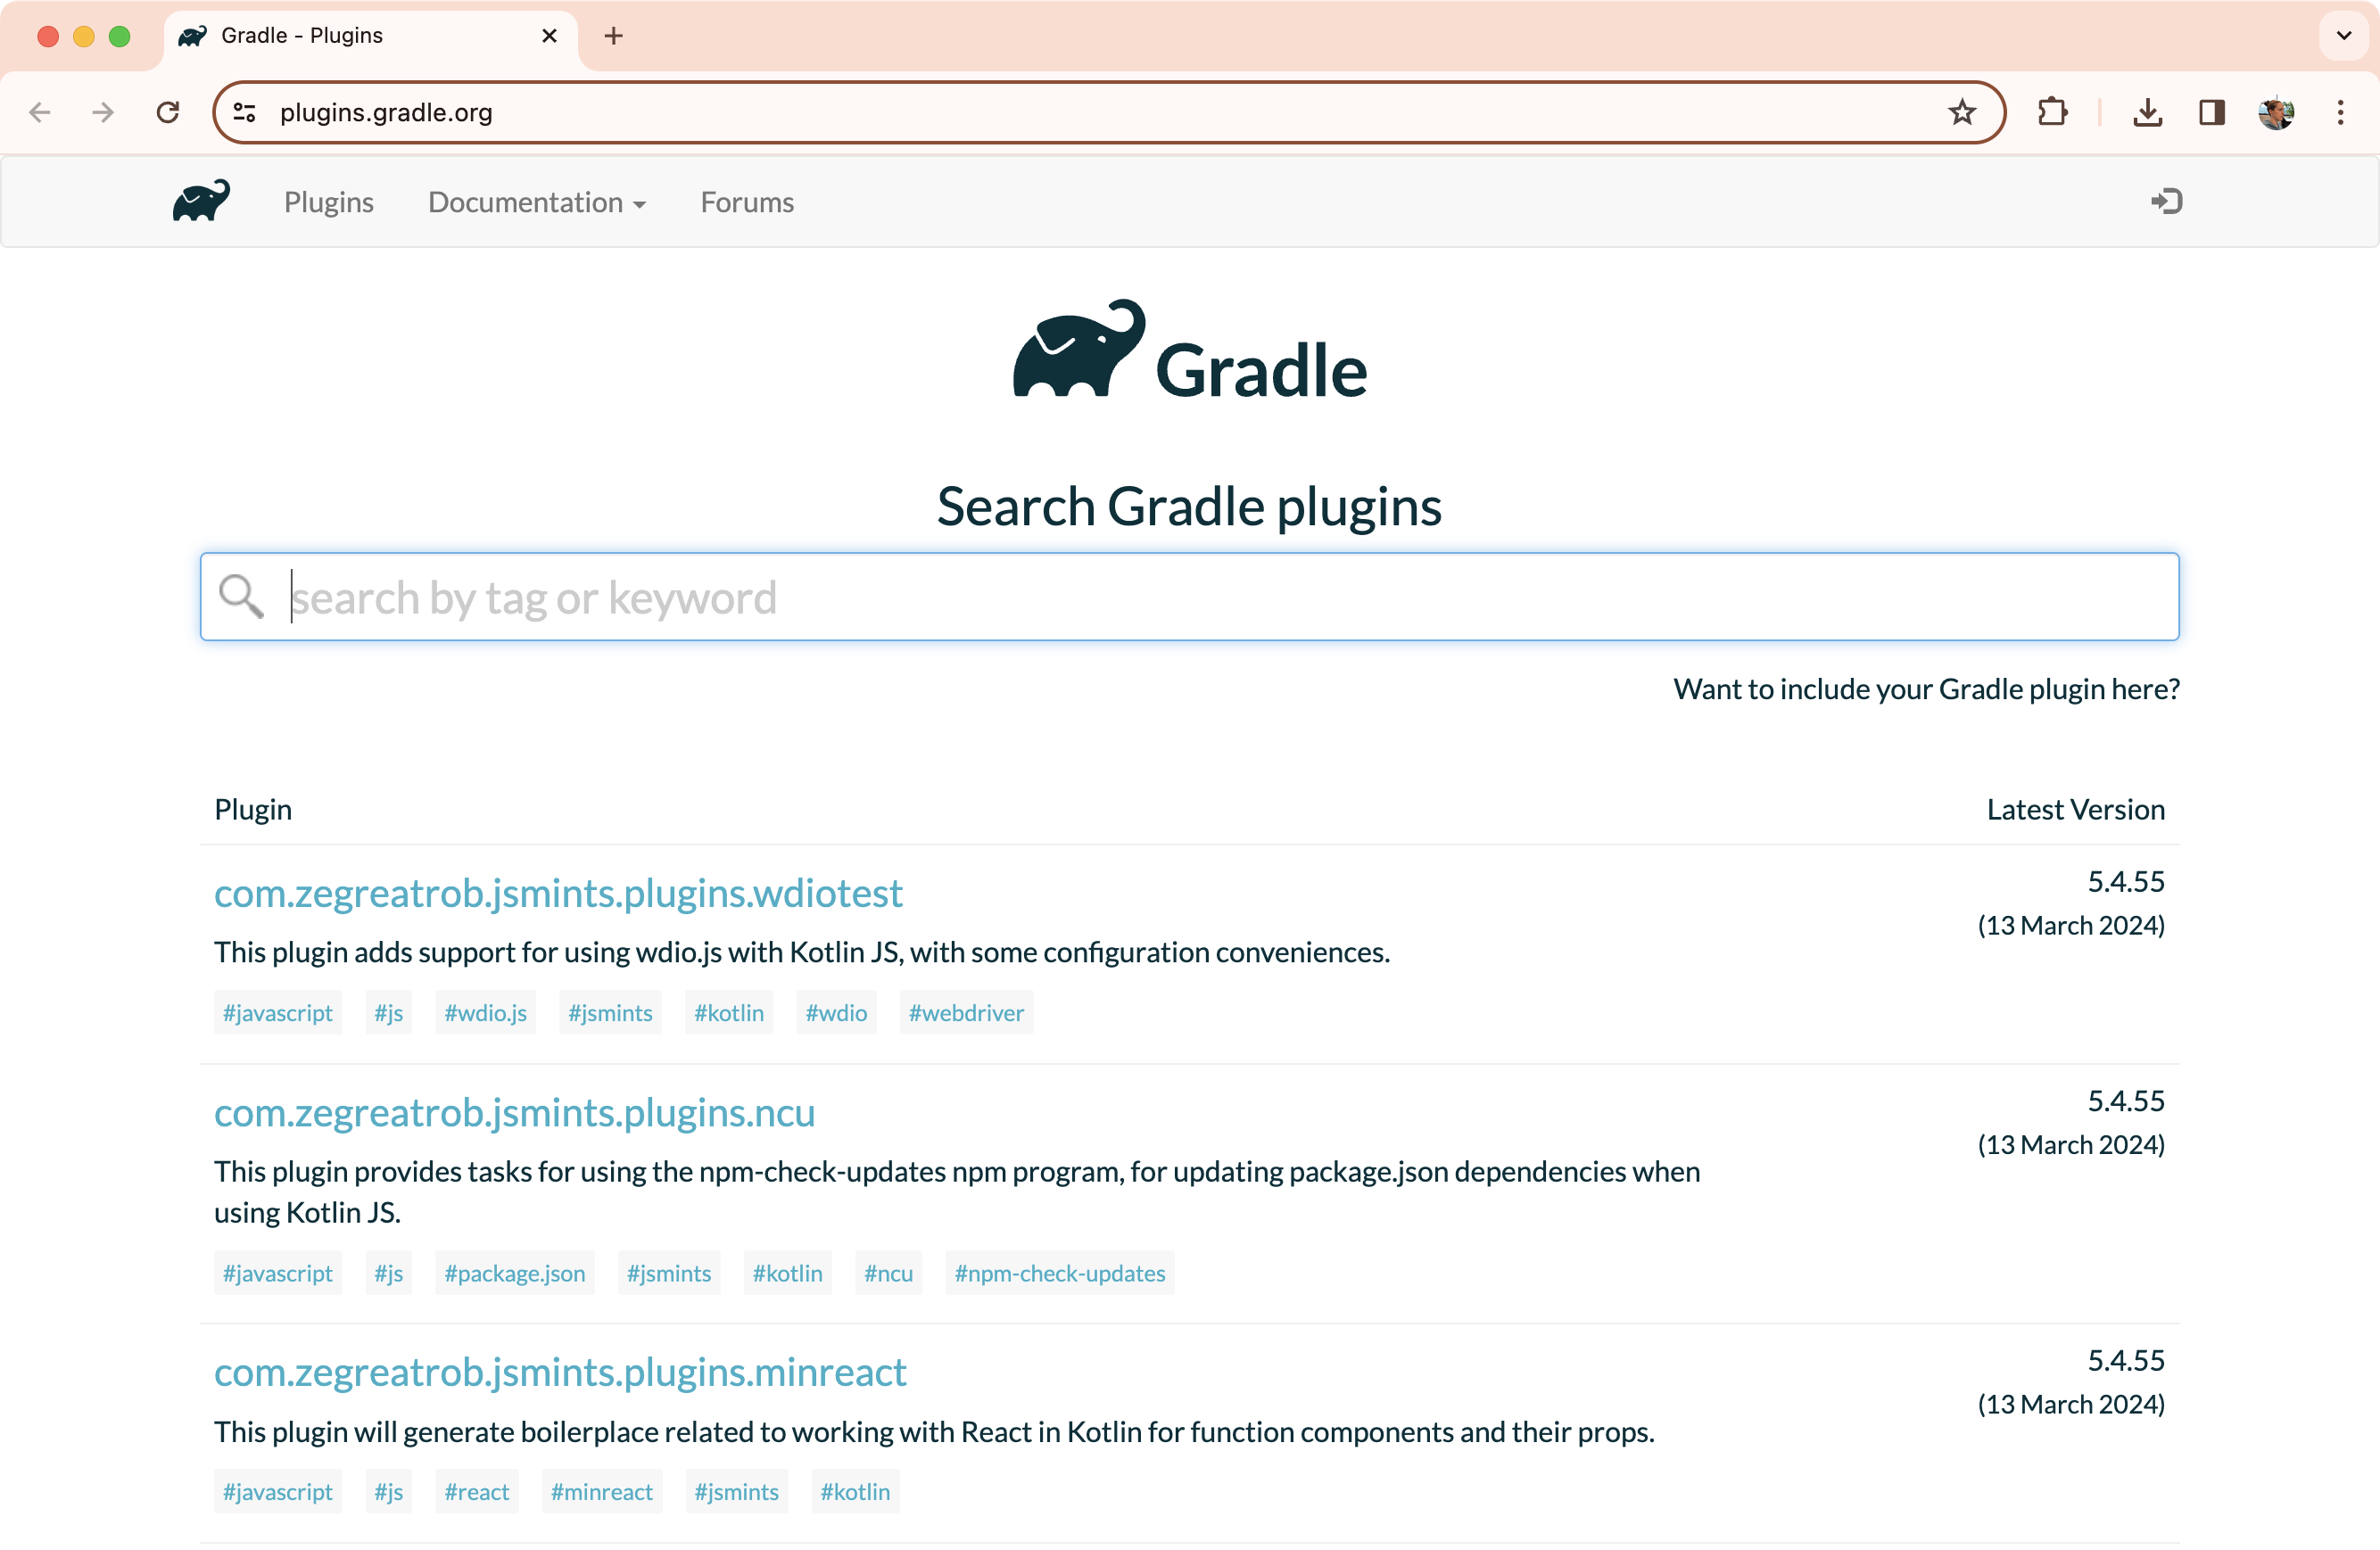
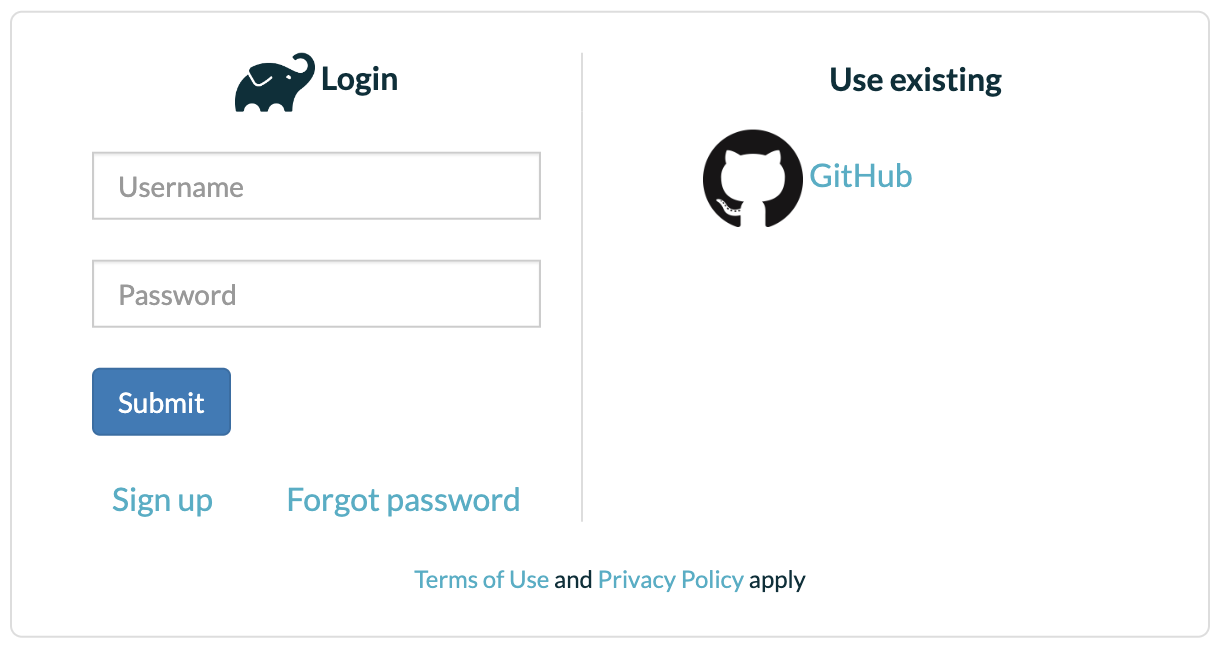
Account setup
Before publishing, create a Gradle Plugin Portal account and generate an API key:
-
Register at the Portal registration page.
-
Retrieve your API key from the “API Keys” tab in your profile.
You can also retrieve your API key using the login task when the plugin-publish plugin is applied.
|
Provide the credentials as Gradle properties (gradle.publish.key and gradle.publish.secret), usually in $HOME/.gradle/gradle.properties, or supply them via environment variables (GRADLE_PUBLISH_KEY and GRADLE_PUBLISH_SECRET), which is convenient for CI/CD.
Adding the Plugin Publish Plugin
Add the com.gradle.plugin-publish plugin to your build:
plugins {
    id("com.gradle.plugin-publish") version "2.0.0"
}plugins {
id 'com.gradle.plugin-publish' version '2.0.0'
}The latest version is listed on the Gradle Plugin Portal.
| Since version 1.0.0, the Plugin Publish Plugin automatically applies the Java Gradle Plugin Development Plugin (for building plugins) and the Maven Publish Plugin (for generating metadata). Older versions required applying these plugins manually. |
Configuring the Plugin Publish Plugin
Configure the plugin in build.gradle(.kts):
group = "io.github.johndoe" (1)
version = "1.0" (2)

gradlePlugin { (3)
    website = "<substitute your project website>" (4)
    vcsUrl = "<uri to project source repository>" (5)

    // ... (6)
}group = 'io.github.johndoe' (1)
version = '1.0' (2)
gradlePlugin { (3)
website = '<substitute your project website>' (4)
vcsUrl = '<uri to project source repository>' (5)
// ... (6)
}| 1 | Set group to identify your published artifacts. |
| 2 | Set version for the plugin release. |
| 3 | Use the gradlePlugin block to define plugin metadata. |
| 4 | Add your project website. |
| 5 | Add a source repository link. |
| 6 | Provide per-plugin details; see the next section. |
| The group and artifact must reasonably represent the organization, person, and the plugin. |
Define plugin-specific properties inside the gradlePlugin {} block:
gradlePlugin { (1)
    // ... (2)

    plugins { (3)
        register("greetingsPlugin") { (4)
            id = "<your plugin identifier>" (5)
            displayName = "<short displayable name for plugin>" (6)
            description = "<human-readable description of what your plugin is about>" (7)
            tags = listOf("tags", "for", "your", "plugins") (8)
            implementationClass = "<your plugin class>"
        }
    }
}gradlePlugin { (1)
// ... (2)
plugins { (3)
register('greetingsPlugin') { (4)
id = '<your plugin identifier>' (5)
displayName = '<short displayable name for plugin>' (6)
description = '<human-readable description of what your plugin is about>' (7)
tags.set(['tags', 'for', 'your', 'plugins']) (8)
implementationClass = '<your plugin class>'
}
}
}| 1 | Plugin specific configuration also goes into the gradlePlugin block. |
| 2 | This is where we previously added global properties. |
| 3 | Each plugin you publish will have its own block inside plugins. |
| 4 | The name of a plugin block must be unique for each plugin you publish; this is a property used only locally by your build and will not be part of the publication. |
| 5 | Set the unique id of the plugin, as it will be identified in the publication. |
| 6 | Set the plugin name in human-readable form. |
| 7 | Set a description to be displayed on the portal. It provides useful information to people who want to use your plugin. |
| 8 | Specifies the categories your plugin covers. It makes the plugin more likely to be discovered by people needing its functionality. |
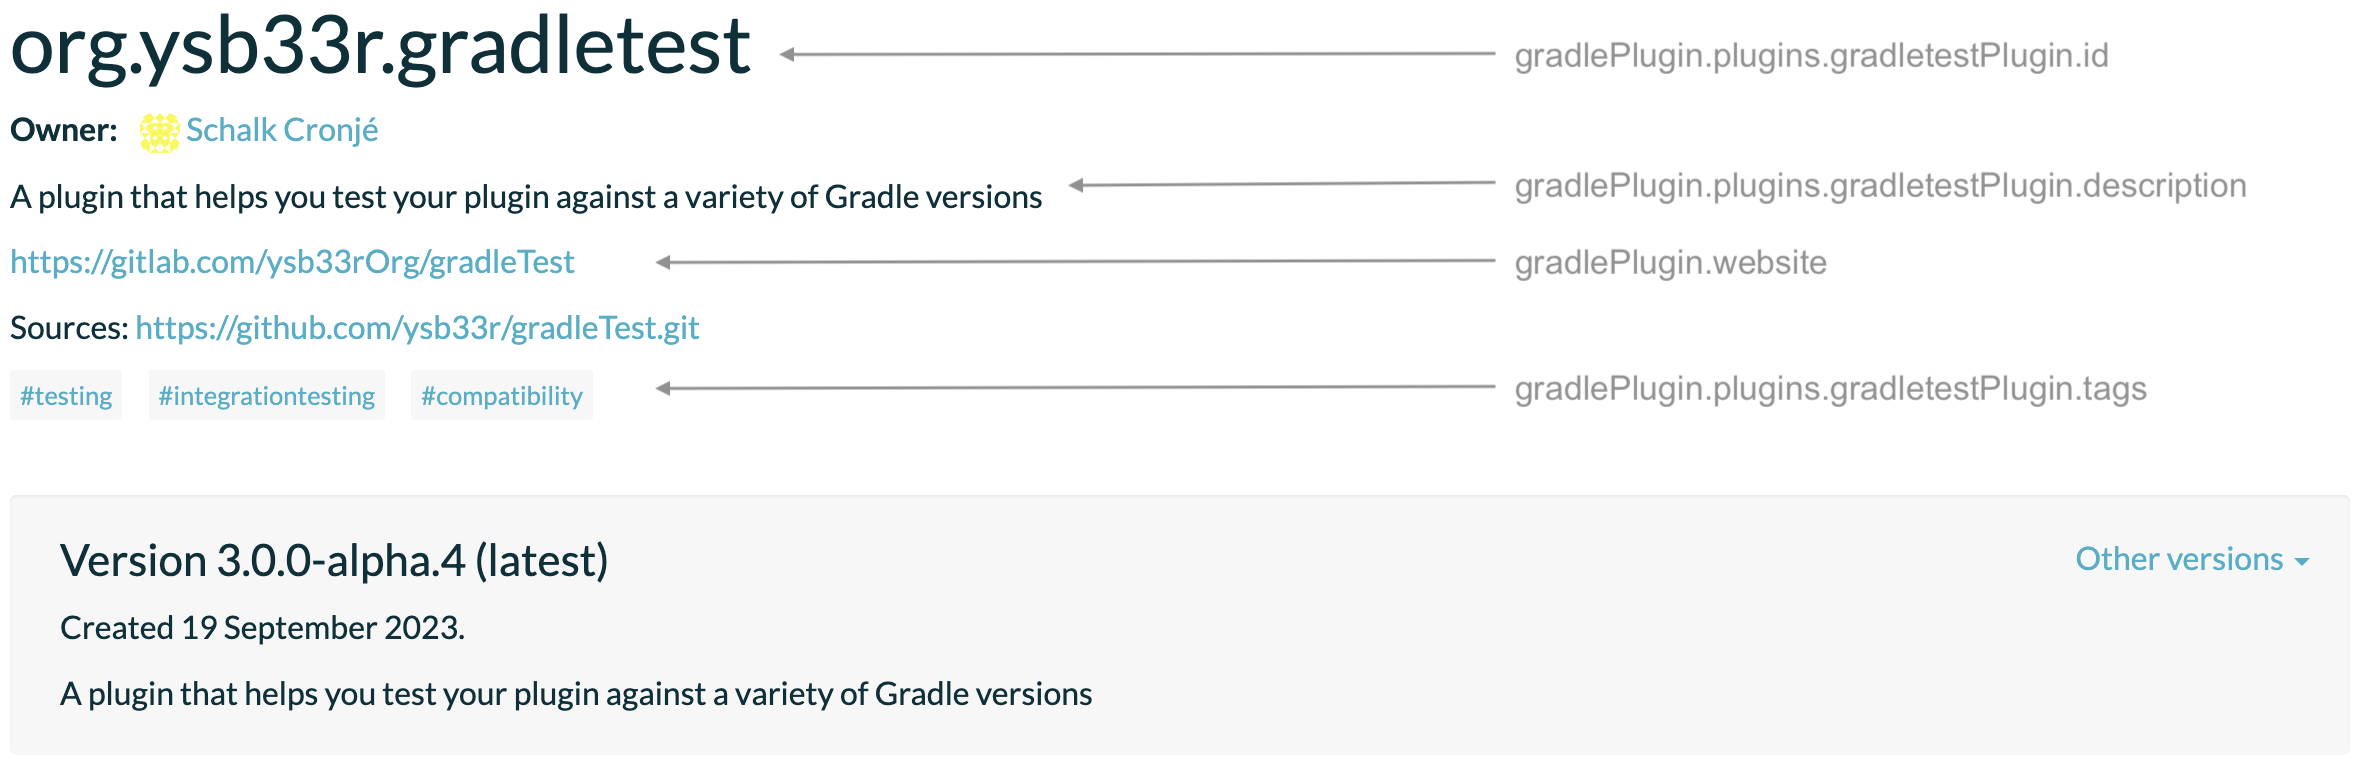
For example, take a look at the configuration for the GradleTest plugin:
gradlePlugin {
    website = "https://github.com/ysb33r/gradleTest"
    vcsUrl = "https://github.com/ysb33r/gradleTest.git"
    plugins {
        register("gradletestPlugin") {
            id = "org.ysb33r.gradletest"
            displayName = "Plugin for compatibility testing of Gradle plugins"
            description = "A plugin that helps you test your plugin against a variety of Gradle versions"
            tags = listOf("testing", "integrationTesting", "compatibility")
            implementationClass = "org.ysb33r.gradle.gradletest.GradleTestPlugin"
        }
    }
}gradlePlugin {
website = 'https://github.com/ysb33r/gradleTest'
vcsUrl = 'https://github.com/ysb33r/gradleTest.git'
plugins {
register('gradletestPlugin') {
id = 'org.ysb33r.gradletest'
displayName = 'Plugin for compatibility testing of Gradle plugins'
description = 'A plugin that helps you test your plugin against a variety of Gradle versions'
tags.addAll('testing', 'integrationTesting', 'compatibility')
implementationClass = 'org.ysb33r.gradle.gradletest.GradleTestPlugin'
}
}
}
Sources and Javadoc
The Plugin Publish Plugin automatically creates and publishes Javadoc and sources JARs.
Signing artifacts
From version 1.0.0, applying the signing plugin automatically signs plugin artifacts.
Shadow dependencies
From version 1.0.0, applying com.gradleup.shadow automatically creates fat JARs for plugins.
Publishing the plugin
To validate a Plugin Portal publication (no upload):
$ ./gradlew publishPlugins --validate-onlyTo publish to the Gradle Plugin Portal:
$ ./gradlew publishPluginsYou can also pass credentials on the command line:
$ ./gradlew publishPlugins -Pgradle.publish.key=<key> -Pgradle.publish.secret=<secret>Your plugin will then go through the approval process. This process can take a few days.
After approval, your plugin appears on the Portal and is available for anyone to use.
Plugins published without Gradle Plugin Portal
If you published a plugin without using the Java Gradle Plugin Development Plugin, the publication will lack the Plugin Marker Artifact required by the plugins DSL.
To use such a plugin, add a resolutionStrategy block inside pluginManagement {} in the consuming project’s settings.gradle(.kts):
resolutionStrategy {
    eachPlugin {
        if (requested.id.namespace == "org.example") {
            useModule("org.example:custom-plugin:${requested.version}")
        }
    }
}resolutionStrategy {
eachPlugin {
if (requested.id.namespace == 'org.example') {
useModule("org.example:custom-plugin:${requested.version}")
}
}
}