Migrating build logic from Groovy to Kotlin
This section will walk you through converting your Groovy-based Gradle build scripts to Kotlin.
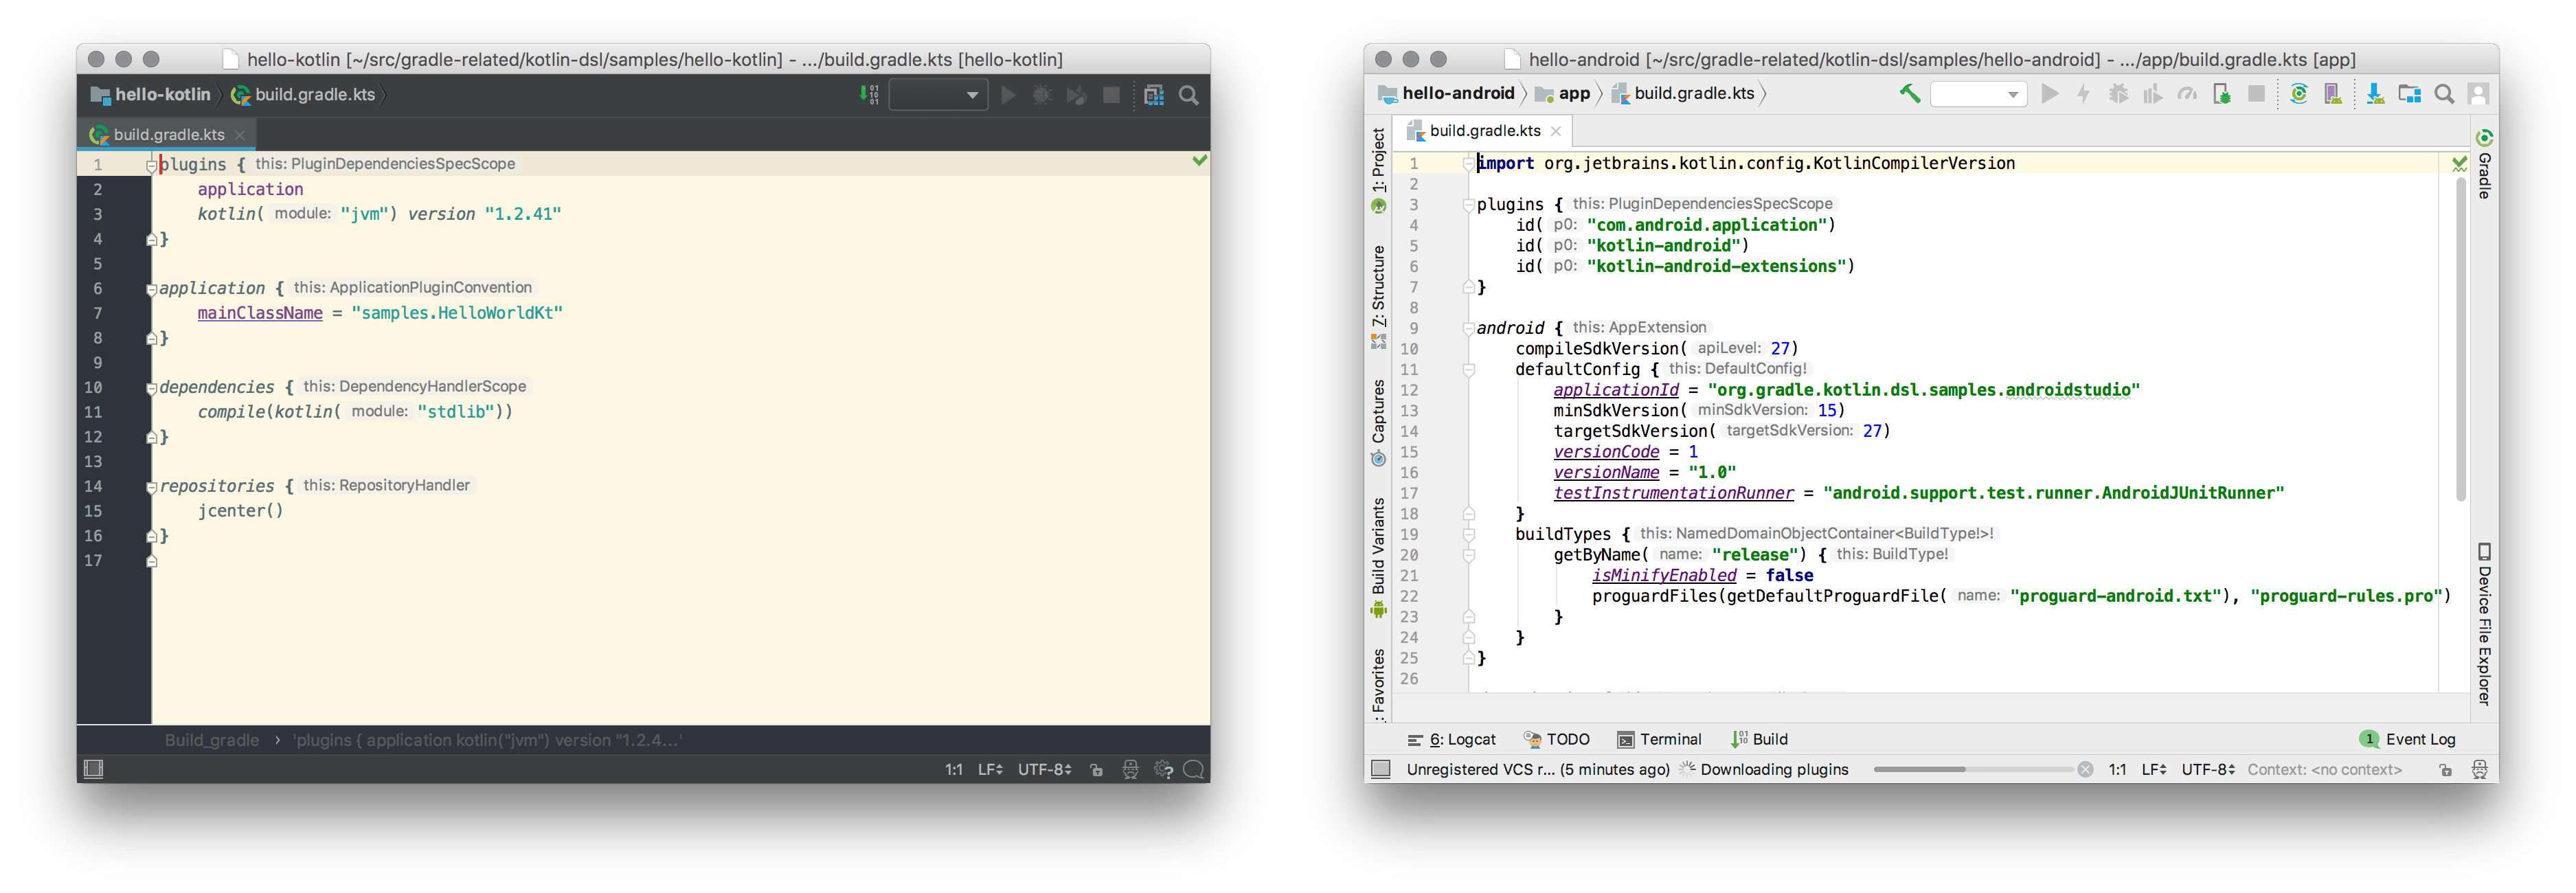
Gradle’s newer Kotlin DSL provides a pleasant editing experience in supported IDEs: content-assist, refactoring, documentation, and more.
|
Please also read the Gradle Kotlin DSL Primer to learn the specificities, limitations and usage of the Gradle Kotlin DSL. The rest of the user manual contain build script excerpts that demonstrate both the Groovy DSL and the Kotlin DSL. This is the best place where to find how to do this and what with each DSL ; and it covers all Gradle features from using plugins to customizing the dependency resolution behavior. |
Before you start migrating
Please read: It’s helpful to understand the following important information before you migrate:
-
Using the latest versions of Gradle, applied plugins, and your IDE should be your first move.
-
Kotlin DSL is fully supported in Intellij IDEA and Android Studio. Other IDEs, such as Eclipse or NetBeans, do not yet provide helpful tools for editing Gradle Kotlin DSL files, however, importing and working with Kotlin DSL-based builds work as usual.
-
In IntelliJ IDEA, you must import your project from the Gradle model to get content-assist and refactoring tools for Kotlin DSL scripts.
-
There are some situations where the Kotlin DSL is slower. First use, on clean checkouts or ephemeral CI agents for example, are known to be slower. The same applies to the scenario in which something in the buildSrc directory changes, which invalidates build-script caching. Builds with slow configuration time might affect the IDE responsiveness, please check out the documentation on Gradle performance.
-
You must run Gradle with Java 8 or higher. Java 7 is not supported.
-
The embedded Kotlin compiler is known to work on Linux, macOS, Windows, Cygwin, FreeBSD and Solaris on x86-64 architectures.
-
Knowledge of Kotlin syntax and basic language features is very helpful. The Kotlin reference documentation and Kotlin Koans should be useful to you.
-
Use of the
plugins {}block to declare Gradle plugins significantly improves the editing experience, and is highly recommended. Consider adopting it in your Groovy build scripts before converting them to Kotlin. -
The Kotlin DSL will not support
model {}elements. This is part of the discontinued Gradle Software Model.
Read more in the Gradle Kotlin DSL Primer.
If you run to trouble or a suspected bug, please take advantage of the gradle/gradle issue tracker.
You don’t have to migrate all at once! Both Groovy and Kotlin-based build scripts can apply other scripts of either language. You can find inspiration for any Gradle features not covered in the Kotlin DSL samples.
Prepare your Groovy scripts
Some simple Kotlin and Groovy language differences can make converting scripts tedious:
-
Groovy strings can be quoted with single quotes
'string'or double quotes"string"whereas Kotlin requires double quotes"string". -
Groovy allows to omit parentheses when invoking functions whereas Kotlin always requires the parentheses.
-
The Gradle Groovy DSL allows to omit the
=assignment operator when assigning properties whereas Kotlin always requires the assignment operator.
As a first migration step, it is recommended to prepare your Groovy build scripts by
-
unifying quotes using double quotes,
-
disambiguating function invocations and property assignments (using respectively parentheses and assignment operator).
The former can easily be done by searching for ' and replacing by ".
For example,
group = 'com.acme'
dependencies {
    implementation 'com.acme:example:1.0'
}
becomes:
group "com.acme"
dependencies {
    implementation "com.acme:example:1.0"
}
The next step is a bit more involved as it may not be trivial to distinguish function invocations and property assignments in a Groovy script. A good strategy is to make all ambiguous statements property assignments first and then fix the build by turning the failing ones to function invocations.
For example,
group "com.acme"
dependencies {
    implementation "com.acme:example:1.0"
}
becomes:
group = "com.acme"                          (1)
dependencies {
    implementation("com.acme:example:1.0")  (2)
}| 1 | Property assignment |
| 2 | Function invocation |
While staying valid Groovy, it is now unambiguous and close to the Kotlin syntax, making it easier to then rename the script to turn it into a Gradle Kotlin DSL script.
It is important to note that while Groovy extra properties can be modified using an object’s ext property, in Kotlin they are modified using the extra property. It is important to look at each object and update the build scripts accordingly.
You can find an example in the userguide.
Script file naming
Groovy DSL script files use the .gradle file name extension.
Kotlin DSL script files use the .gradle.kts file name extension.
|
To use the Kotlin DSL, simply name your files build.gradle.kts instead of build.gradle.
The settings file, settings.gradle, can also be renamed settings.gradle.kts.
In a multi-project build, you can have some modules using the Groovy DSL (with build.gradle) and others using the Kotlin DSL (with build.gradle.kts).
On top of that, apply the following conventions for better IDE support:
-
Name scripts that are applied to
Settingsaccording to the pattern*.settings.gradle.kts, -
Name init scripts according to the pattern
*.init.gradle.kts.
Applying plugins
Just like with the Groovy DSL, there are two ways to apply Gradle plugins:
Here’s an example using the declarative plugins {} block:
plugins {
    java
    jacoco
    `maven-publish`
    id("org.springframework.boot") version "3.4.4"
}plugins {
id 'java'
id 'jacoco'
id 'maven-publish'
id 'org.springframework.boot' version '3.4.4'
}The Kotlin DSL provides property extensions for all Gradle core plugins,
as shown above with the java, jacoco or maven-publish declaration.
Third party plugins can be applied the same way as with the Groovy DSL. Except for the double quotes and parentheses. You can also apply core plugins with that style. But the statically-typed accessors are recommended since they are type-safe and will be autocompleted by your IDE.
You can also use the imperative apply syntax, but then non-core plugins must be included on the classpath of the build script:
buildscript {
    repositories {
        gradlePluginPortal()
    }
    dependencies {
        classpath("org.springframework.boot:spring-boot-gradle-plugin:3.4.4")
    }
}

apply(plugin = "java")
apply(plugin = "jacoco")
apply(plugin = "org.springframework.boot")buildscript {
repositories {
gradlePluginPortal()
}
dependencies {
classpath('org.springframework.boot:spring-boot-gradle-plugin:3.4.4')
}
}
apply plugin: 'java'
apply plugin: 'jacoco'
apply plugin: 'org.springframework.boot'|
We strongly recommend that you use the The declarative nature of the |
Configuring plugins
Many plugins come with extensions to configure them. If those plugins are applied using the declarative plugins {} block, then Kotlin extension functions are made available to configure their extension, the same way as in Groovy.
The following sample shows how this works for the Jacoco Plugin.
plugins {
    jacoco
}

jacoco {
    toolVersion = "0.8.1"
}plugins {
id 'jacoco'
}
jacoco {
toolVersion = '0.8.1'
}By contrast, if you use the imperative apply() function to apply a plugin, then you will have to use the configure<T>() function to configure that plugin.
The following sample shows how this works for the Checkstyle Plugin by explicitly declaring the plugin’s extension class — CheckstyleExtension — in the configure<T>() function:
apply(plugin = "checkstyle")

configure<CheckstyleExtension> {
    maxErrors = 10
}apply plugin: "checkstyle"
checkstyle {
maxErrors = 10
}Again, we strongly recommend that you apply plugins declaratively via the plugins {} block.
Because your IDE knows about the configuration elements that a plugin provides, it will include those elements when you ask your IDE for suggestions.
This will happen both at the top level of your build scripts — most plugin extensions are added to the Project object — and within an extension’s configuration block.
You can also run the :kotlinDslAccessorsReport task to learn about the extensions contributed by all applied plugins.
It prints the Kotlin code you can use to access those extensions and provides the name and type of the accessor methods.
If the plugin you want to configure relies on groovy.lang.Closure in its method signatures or uses other dynamic Groovy semantics, more work will be required to configure that plugin from a Kotlin DSL build script.
See the interoperability section of the Gradle Kotlin DSL documentation for more information on how to call Groovy code from Kotlin code or to keep that plugin’s configuration in a Groovy script.
Plugins also contribute tasks that you may want to configure directly. This topic is covered in the Configuring tasks section below.
To get the most benefits of the Gradle Kotlin DSL you should strive to keep your build scripts declarative. The main thing to remember here is that in order to get type-safe accessors, plugins must be applied before the body of build scripts.
It is strongly recommended to read about configuring plugins with the Gradle Kotlin DSL in the Gradle user manual.
If your build is a multi-project build, like mostly all Android builds for example, please also read the subsequent section about multi-project builds.
Finally, there are strategies to use the plugins {} block with plugins that aren’t published with the correct metadata, such as the Android Gradle Plugin.
Configuration avoidance
Gradle 4.9 introduced a new API for creating and configuring tasks in build scripts and plugins. The intent is for this new API to eventually replace the existing API.
One of the major differences between the existing and new Gradle Tasks API is whether or not Gradle spends the time to create
Taskinstances and run configuration code. The new API allows Gradle to delay or completely avoid configuring tasks that will never be executed in a build. For example, when compiling code, Gradle does not need to configure tasks that run tests.
See the Evolving the Gradle API to reduce configuration time blog post and the Task Configuration Avoidance chapter in the user manual for more information.
The Gradle Kotlin DSL embraces configuration avoidance by making the type-safe model accessors leverage the new APIs and providing DSL constructs to make them easier to use. Rest assured, the whole Gradle API remains available.
Configuring tasks
The syntax for configuring tasks is where the Groovy and Kotlin DSLs start to differ significantly.
tasks.jar {
    archiveFileName = "foo.jar"
}tasks.jar {
archiveFileName = 'foo.jar'
}Note that in Kotlin the tasks.jar {} notation leverage the configuration avoidance API and defer the configuration of the jar task.
If the type-safe task accessor tasks.jar isn’t available, see the configuring plugins section above, you can fallback to using the tasks container API. The Kotlin flavor of the following sample is strictly equivalent to the one using the type-safe accessor above:
tasks.named<Jar>("jar") {
    archiveFileName = "foo.jar"
}tasks.named('jar') {
archiveFileName = 'foo.jar'
}Note that since Kotlin is a statically typed language, it is necessary to specify the type of the task explicitly. Otherwise, the script will not compile because the inferred type will be Task, not Jar, and the archiveName property is specific to the Jar task type.
If configuration avoidance is getting in your way migrating and you want to eagerly configure a task just like Groovy you can do so by using the eager configuration API on the tasks container:
tasks.getByName<Jar>("jar") {
    archiveFileName = "foo.jar"
}tasks.getByName('jar') {
archiveFileName = 'foo.jar'
}Working with containers in the Gradle Kotlin DSL is documented in detail here.
If you don’t know what type a task has, then you can find that information out via the built-in help task.
Simply pass it the name of the task you’re interested in using the --task option, like so:
❯ ./gradlew help --task jar
...
Type
     Jar (org.gradle.api.tasks.bundling.Jar)
Let’s bring all this together by running through a quick worked example that configures the bootJar and bootRun tasks of a Spring Boot project:
plugins {
    java
    id("org.springframework.boot") version "3.4.4"
}

tasks.bootJar {
    archiveFileName = "app.jar"
    mainClass = "com.example.demo.Demo"
}

tasks.bootRun {
    mainClass = "com.example.demo.Demo"
    args("--spring.profiles.active=demo")
}plugins {
id 'java'
id 'org.springframework.boot' version '3.4.4'
}
tasks.bootJar {
archiveFileName = 'app.jar'
mainClass = 'com.example.demo.Demo'
}
tasks.bootRun {
mainClass = 'com.example.demo.Demo'
args '--spring.profiles.active=demo'
}This is pretty self explanatory. The main difference is that the task configuration automatically becomes lazy when using the Kotlin DSL accessors.
Now, for the sake of the example, let’s look at the same configuration applied using the API instead of the type-safe accessors that may not be available depending on the build logic structure, see the corresponding documentation in the Gradle user manual for more information.
We first determine the types of the bootJar and bootRun tasks via the help task:
❯ ./gradlew help --task bootJar
...
Type
     BootJar (org.springframework.boot.gradle.tasks.bundling.BootJar)
❯ ./gradlew help --task bootRun
...
Type
BootRun (org.springframework.boot.gradle.tasks.run.BootRun)Now that we know the types of the two tasks, we can import the relevant types — BootJar and BootRun — and configure the tasks as required.
Note that the IDE can assist us with the required imports, so we only need the simple names, i.e. without the full packages.
Here’s the resulting build script, complete with imports:
import org.springframework.boot.gradle.tasks.bundling.BootJar
import org.springframework.boot.gradle.tasks.run.BootRun

// TODO:Finalize Upload Removal - Issue #21439
plugins {
    java
    id("org.springframework.boot") version "3.4.4"
}

tasks.named<BootJar>("bootJar") {
    archiveFileName = "app.jar"
    mainClass = "com.example.demo.Demo"
}

tasks.named<BootRun>("bootRun") {
    mainClass = "com.example.demo.Demo"
    args("--spring.profiles.active=demo")
}plugins {
id 'java'
id 'org.springframework.boot' version '3.4.4'
}
tasks.named('bootJar') {
archiveFileName = 'app.jar'
mainClass = 'com.example.demo.Demo'
}
tasks.named('bootRun') {
mainClass = 'com.example.demo.Demo'
args '--spring.profiles.active=demo'
}Creating tasks
Creating tasks can be done using the script top-level function named task(…):
task("greeting") {
    doLast { println("Hello, World!") }
}task greeting {
doLast { println 'Hello, World!' }
}Note that the above eagerly configures the created task with both Groovy and Kotlin DSLs.
Registering or creating tasks can also be done on the tasks container, respectively using the register(…) and create(…) functions as shown here:
tasks.register("greeting") {
    doLast { println("Hello, World!") }
}tasks.register('greeting') {
doLast { println('Hello, World!') }
}tasks.create("greeting") {
doLast { println("Hello, World!") }
}tasks.create('greeting') {
doLast { println('Hello, World!') }
}The samples above create untyped, ad-hoc tasks, but you will more commonly want to create tasks of a specific type.
This can also be done using the same register() and create() methods.
Here’s an example that creates a new task of type Zip:
tasks.register<Zip>("docZip") {
    archiveFileName = "doc.zip"
    from("doc")
}tasks.register('docZip', Zip) {
archiveFileName = 'doc.zip'
from 'doc'
}tasks.create<Zip>("docZip") {
archiveFileName = "doc.zip"
from("doc")
}tasks.create(name: 'docZip', type: Zip) {
archiveFileName = 'doc.zip'
from 'doc'
}Configurations and dependencies
Declaring dependencies in existing configurations is similar to the way it’s done in Groovy build scripts, as you can see in this example:
plugins {
    `java-library`
}
dependencies {
    implementation("com.example:lib:1.1")
    runtimeOnly("com.example:runtime:1.0")
    testImplementation("com.example:test-support:1.3") {
        exclude(module = "junit")
    }
    testRuntimeOnly("com.example:test-junit-jupiter-runtime:1.3")
}plugins {
id 'java-library'
}
dependencies {
implementation 'com.example:lib:1.1'
runtimeOnly 'com.example:runtime:1.0'
testImplementation('com.example:test-support:1.3') {
exclude(module: 'junit')
}
testRuntimeOnly 'com.example:test-junit-jupiter-runtime:1.3'
}Each configuration contributed by an applied plugin is also available as a member of the configurations container, so you can reference it just like any other configuration.
The easiest way to find out what configurations are available is by asking your IDE for suggestions within the configurations container.
You can also use the :kotlinDslAccessorsReport task, which prints the Kotlin code for accessing the configurations contributed by applied plugins and provides the names for all of those accessors.
Note that if you do not use the plugins {} block to apply your plugins, then you won’t be able to configure the dependency configurations provided by those plugins in the usual way. Instead, you will have to use string literals for the configuration names, which means you won’t get IDE support:
apply(plugin = "java-library")
dependencies {
    "implementation"("com.example:lib:1.1")
    "runtimeOnly"("com.example:runtime:1.0")
    "testImplementation"("com.example:test-support:1.3") {
        exclude(module = "junit")
    }
    "testRuntimeOnly"("com.example:test-junit-jupiter-runtime:1.3")
}apply plugin: 'java-library'
dependencies {
implementation 'com.example:lib:1.1'
runtimeOnly 'com.example:runtime:1.0'
testImplementation('com.example:test-support:1.3') {
exclude(module: 'junit')
}
testRuntimeOnly 'com.example:test-junit-jupiter-runtime:1.3'
}This is just one more reason to use the plugins {} block whenever you can!
Custom configurations and dependencies
Sometimes you need to create your own configurations and attach dependencies to them. The following example declares two new configurations:
-
db, to which we add a PostgreSQL dependency -
integTestImplementation, which is configured to extend thetestImplementationconfiguration and to which we add a different dependency
val db = configurations.create("db")
val integTestImplementation = configurations.create("integTestImplementation") {
    extendsFrom(configurations["testImplementation"])
}

dependencies {
    db("org.postgresql:postgresql")
    integTestImplementation("com.example:integ-test-support:1.3")
}configurations {
db
integTestImplementation {
extendsFrom testImplementation
}
}
dependencies {
db 'org.postgresql:postgresql'
integTestImplementation 'com.example:integ-test-support:1.3'
}Note that we can only use the db(…) and integTestImplementation(…) notation within the dependencies {} block in the above example because both configurations are created and referenced beforehand via the create() method.
If the configurations were defined elsewhere, you could only reference them either by first accessing them via configurations — as opposed to configurations.create() — or by using string literals within the dependencies {} block.
The following example demonstrates both approaches:
// get the existing 'testRuntimeOnly' configuration
val testRuntimeOnly = configurations["testRuntimeOnly"]

dependencies {
    testRuntimeOnly("com.example:test-junit-jupiter-runtime:1.3")
    "db"("org.postgresql:postgresql")
    "integTestImplementation"("com.example:integ-test-support:1.3")
}
Migration strategies
As we’ve seen above, both scripts using the Kotlin DSL and those using the Groovy DSL can participate in the same build. In addition, Gradle plugins from the buildSrc directory, an included build or an external location can be implemented using any JVM language. This makes it possible to migrate a build progressively, piece by piece, without blocking your team.
Two approaches to migrations stand out:
-
Migrating the existing syntax of your build to Kotlin, bit by bit, while retaining the structure — what we call a mechanical migration
-
Restructuring your build logic towards Gradle best practices and switching to Kotlin DSL as part of that effort
Both approaches are viable. A mechanical migration will be enough for simple builds. A complex and highly dynamic build may require some restructuring anyway, so in such cases reimplementing build logic to follow Gradle best practice makes sense.
Since applying Gradle best practices will make your builds easier to use and faster, we recommend that you migrate all projects in that way eventually, but it makes sense to focus on the projects that have to be restructured first and those that would benefit most from the improvements.
Also consider that the more parts of your build logic rely on the dynamic aspects of Groovy, the harder they will be to use from the Kotlin DSL. You’ll find recipes on how to cross the dynamic boundaries from static Kotlin in the interoperability section of the Gradle Kotlin DSL documentation, regardless of where the dynamic Groovy build logic resides.
There are two key best practices that make it easier to work within the static context of the Kotlin DSL:
-
Using the
plugins {}block -
Putting local build logic in the build’s buildSrc directory
The plugins {} block is about keeping your build scripts declarative in order to get the best out of the Kotlin DSL.
Utilizing the buildSrc project is about organizing your build logic into shared local plugins and conventions that are easily testable and provide good IDE support.
Kotlin DSL build structure samples
Depending on your build structure you might be interested in the following user manual chapters:
-
The Writing Build Scripts chapter demonstrates the use of
apply(from = "")to modularize build scripts. -
The Multi-project Builds chapter demonstrates various multi-project build structures.
-
The Developing Custom Gradle Plugins and Gradle Kotlin DSL Primer chapters demonstrate how to develop custom Gradle plugins.
-
The Composing builds chapter demonstrates how to use Composite Builds.
Interoperability
When mixing languages in your build logic, you may have to cross language boundaries. An extreme example would be a build that uses tasks and plugins that are implemented in Java, Groovy and Kotlin, while also using both Kotlin DSL and Groovy DSL build scripts.
Quoting the Kotlin reference documentation:
Kotlin is designed with Java Interoperability in mind. Existing Java code can be called from Kotlin in a natural way, and Kotlin code can be used from Java rather smoothly as well.
Both calling Java from Kotlin and calling Kotlin from Java are very well covered in the Kotlin reference documentation.
The same mostly applies to interoperability with Groovy code. In addition, the Kotlin DSL provides several ways to opt into Groovy semantics.
Please find detailed documentation in the interoperability section of the Gradle Kotlin DSL Primer.