Part 1: Initializing the Project
In this tutorial, you’ll learn the core concepts of Gradle by creating, building, and exploring a simple Java application from scratch. You’ll gain a practical understanding of Gradle tasks, plugins, and project structures.
Step 0. Before you Begin
-
Make sure you have Gradle installed.
-
(Optional) Install IntelliJ IDEA. The Community Edition is free.
| This tutorial primarily uses macOS and the command line for examples, but the steps are similar on Windows and Linux. While we occasionally use IntelliJ IDEA to explore the project, you’re welcome to use any IDE you prefer. |
Step 1. Initializing the Project
To test the Gradle installation, run Gradle from the command-line:
$ gradle

Welcome to Gradle 8.13.

Directory '/' does not contain a Gradle build.

To create a new build in this directory, run gradle init
If Gradle is not installed, please refer to the installation section.
Create a new directory called tutorial and cd into it:
$ mkdir tutorial$ cd tutorialRun gradle init with the following parameters to generate a Java application:
$ gradle init --type java-application --dsl kotlinSelect defaults for any additional prompts.
If you are feeling adventurous, you can select a different application type by modifying the init parameter such as --type kotlin-application.
|
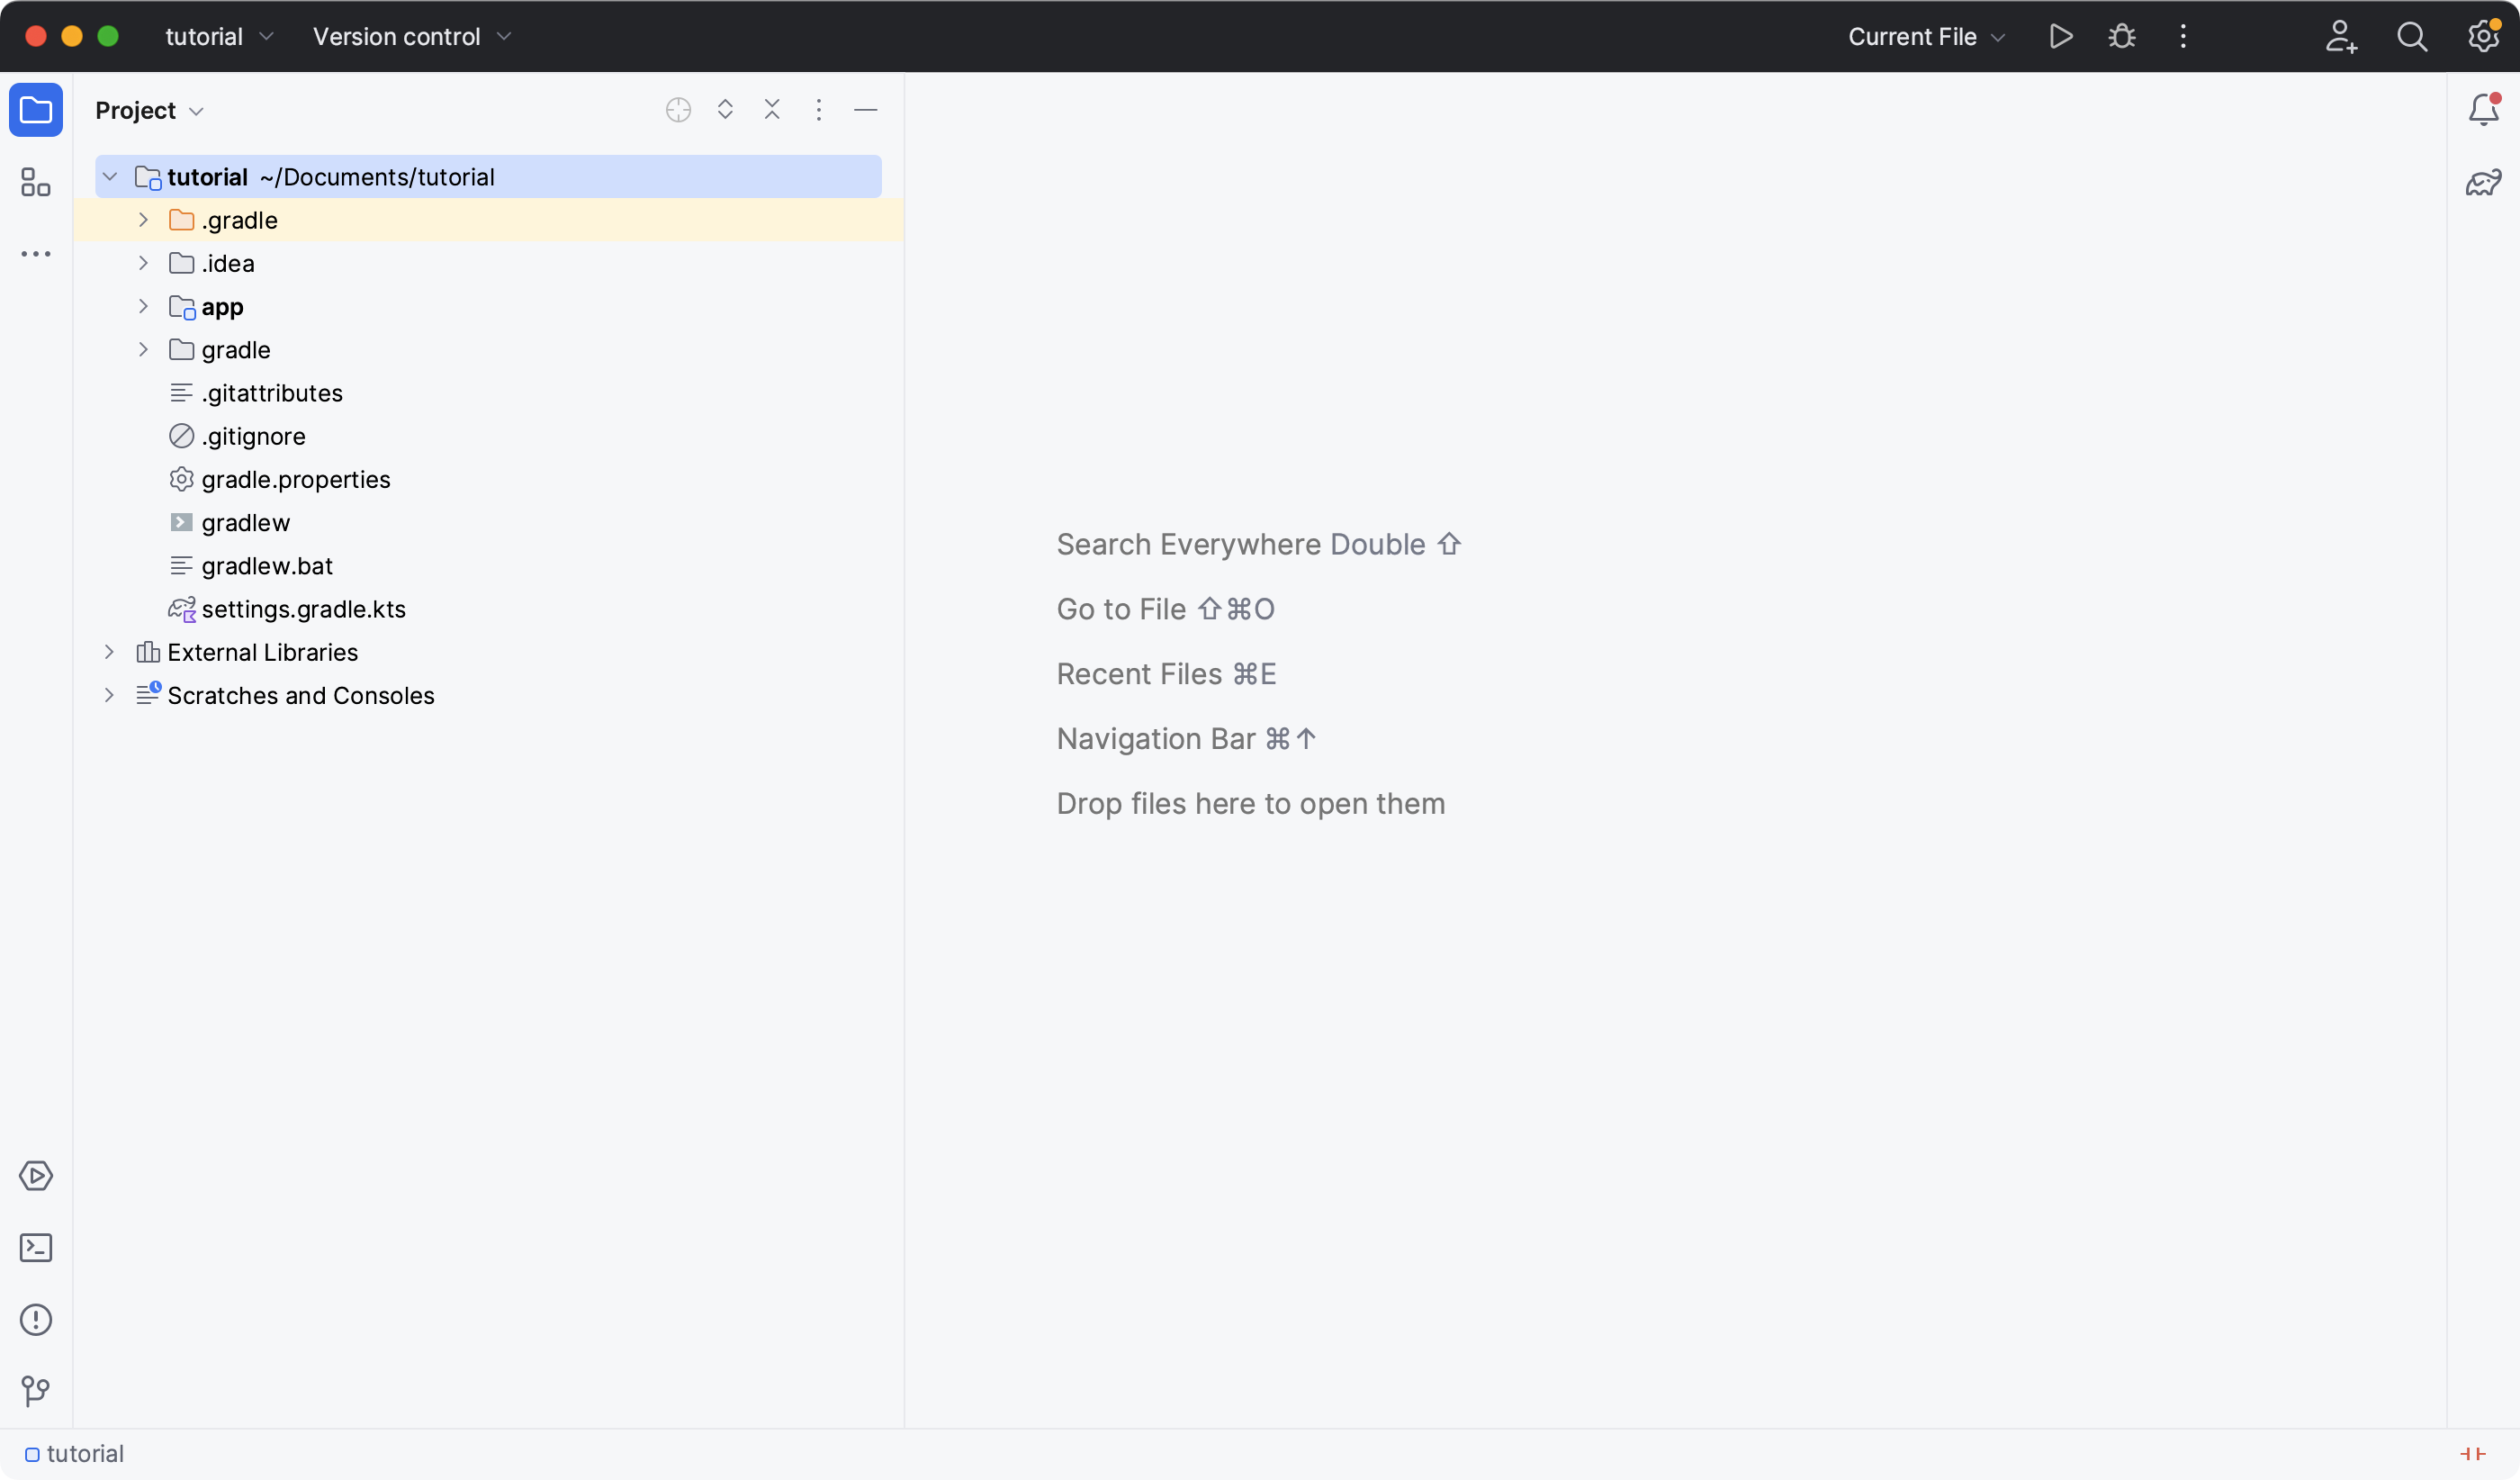
When you are done, the directory should look as follows:
tutorial
├── .gradle                 (1)
│   └── ⋮
├── gradle                      (2)
│   ├── libs.versions.toml  (3)
│   └── wrapper
├── gradlew                     (4)
├── gradlew.bat             (5)
├── settings.gradle.kts         (6)
├── app                     (7)
│   ├── build.gradle.kts
│   └── src
└── ⋮ (8)| 1 | Project-specific cache directory generated by Gradle. |
| 2 | Contains the JAR file and configuration of the Gradle Wrapper. |
| 3 | The version catalog which defines a set of versions for dependencies in a central location. |
| 4 | macOS and Linux script for executing builds using the Gradle Wrapper. |
| 5 | Windows script for executing builds using the Gradle Wrapper. |
| 6 | The project’s settings file where the list of subprojects is defined. |
| 7 | The source code and build configuration for the Java app. |
| 8 | Some additional Git files may be present such as .gitignore or gradle.properties. |
tutorial
├── .gradle                 (1)
│   └── ⋮
├── gradle                      (2)
│   ├── libs.versions.toml  (3)
│   └── wrapper
├── gradlew                     (4)
├── gradlew.bat             (5)
├── settings.gradle             (6)
├── app                     (7)
│   ├── build.gradle
│   └── src
└── ⋮ (8)| 1 | Project-specific cache directory generated by Gradle. |
| 2 | Contains the JAR file and configuration of the Gradle Wrapper. |
| 3 | The version catalog which defines a set of versions for dependencies in a central location. |
| 4 | macOS and Linux script for executing builds using the Gradle Wrapper. |
| 5 | Windows script for executing builds using the Gradle Wrapper. |
| 6 | The project’s settings file where the list of subprojects is defined. |
| 7 | The source code and build configuration for the Java app. |
| 8 | Some additional Git files may be present such as .gitignore or gradle.properties. |
Step 2. Understanding the Wrapper
The Gradle Wrapper is the preferred way of starting a Gradle build. The Wrapper downloads (if needed) and then invokes a specific version of Gradle declared in the build.
In your newly created project, take a look at the files used by the Gradle Wrapper first. It consists of a shell script for macOS and Linux and a batch script for Windows .
These scripts allow you to run a Gradle build without requiring that Gradle be installed on your system. It also helps ensure that the same version of Gradle is used for builds by different developers and between local and CI machines.
From now on, you will never invoke Gradle directly; instead, you will use the Gradle wrapper.
Step 3. Invoking the Wrapper
Use the wrapper by entering the following command:
$ ./gradlew buildIn Windows, the command is:
$ gradlew.bat buildThe first time you run the wrapper, it downloads and caches the Gradle binaries if they are not already installed on your machine.
Downloading https://services.gradle.org/distributions/gradle-8.13-bin.zip
...

Welcome to Gradle 8.13!
...

Calculating task graph as no cached configuration is available for tasks: build

BUILD SUCCESSFUL in 4s
7 actionable tasks: 7 executed
Configuration cache entry stored.
The Gradle Wrapper is designed to be committed to source control so that anyone can build the project without having to first install and configure a specific version of Gradle.
In this case, we invoked Gradle through the wrapper to build our project, so we can see that the app directory now includes a new build folder:
$ cd app$ ls -aldrwxr-xr-x 10 gradle-user staff 320 May 24 18:07 build
-rw-r--r-- 1 gradle-user staff 862 May 24 17:45 build.gradle.kts
drwxr-xr-x 4 gradle-user staff 128 May 24 17:45 srcdrwxr-xr-x 10 gradle-user staff 320 May 24 18:07 build
-rw-r--r-- 1 gradle-user staff 862 May 24 17:45 build.gradle
drwxr-xr-x 4 gradle-user staff 128 May 24 17:45 srcAll the files generated by the build process go into the build directory unless otherwise specified.
Step 4. Understanding the Project Structure
Let’s take a look at a standard Gradle project structure and compare it to our tutorial project:

A build contains:
-
A top level
settings.gradle(.kts)file. -
A root project.
-
One or more subprojects, each with its own
build.gradle(.kts)file.
Some builds may contain a build.gradle(.kts) file in the root project but this is NOT recommended.
The libs.versions.toml file is a version catalog used for dependency management which you will learn about in a subsequent section of the tutorial.
In this tutorial:
-
The root project is called tutorial and is defined with
rootProject.name = "tutorial"in thesettings.gradlefile. -
The subproject is called app and is defined with
include("app")in thesettings.gradlefile.
The root project can be in the top-level directory or have its own directory.
A build:
-
Represents a bundle of related software that you can build, test, and/or release together.
-
Can optionally include other builds (i.e. additional software such as libraries, plugins, build-time tools, etc).
A project:
-
Represents a single piece of your architecture — a library, an app, a Gradle plugin, etc.
-
Can optionally contain other projects.
Step 5. Viewing files in an IDE (Optional)
Open the project in IntelliJ IDEA by double-clicking on the settings.gradle.kts file in the tutorial directory.
For Groovy DSL users, you may need to select the IntelliJ IDEA app when you click on the settings.gradle file:

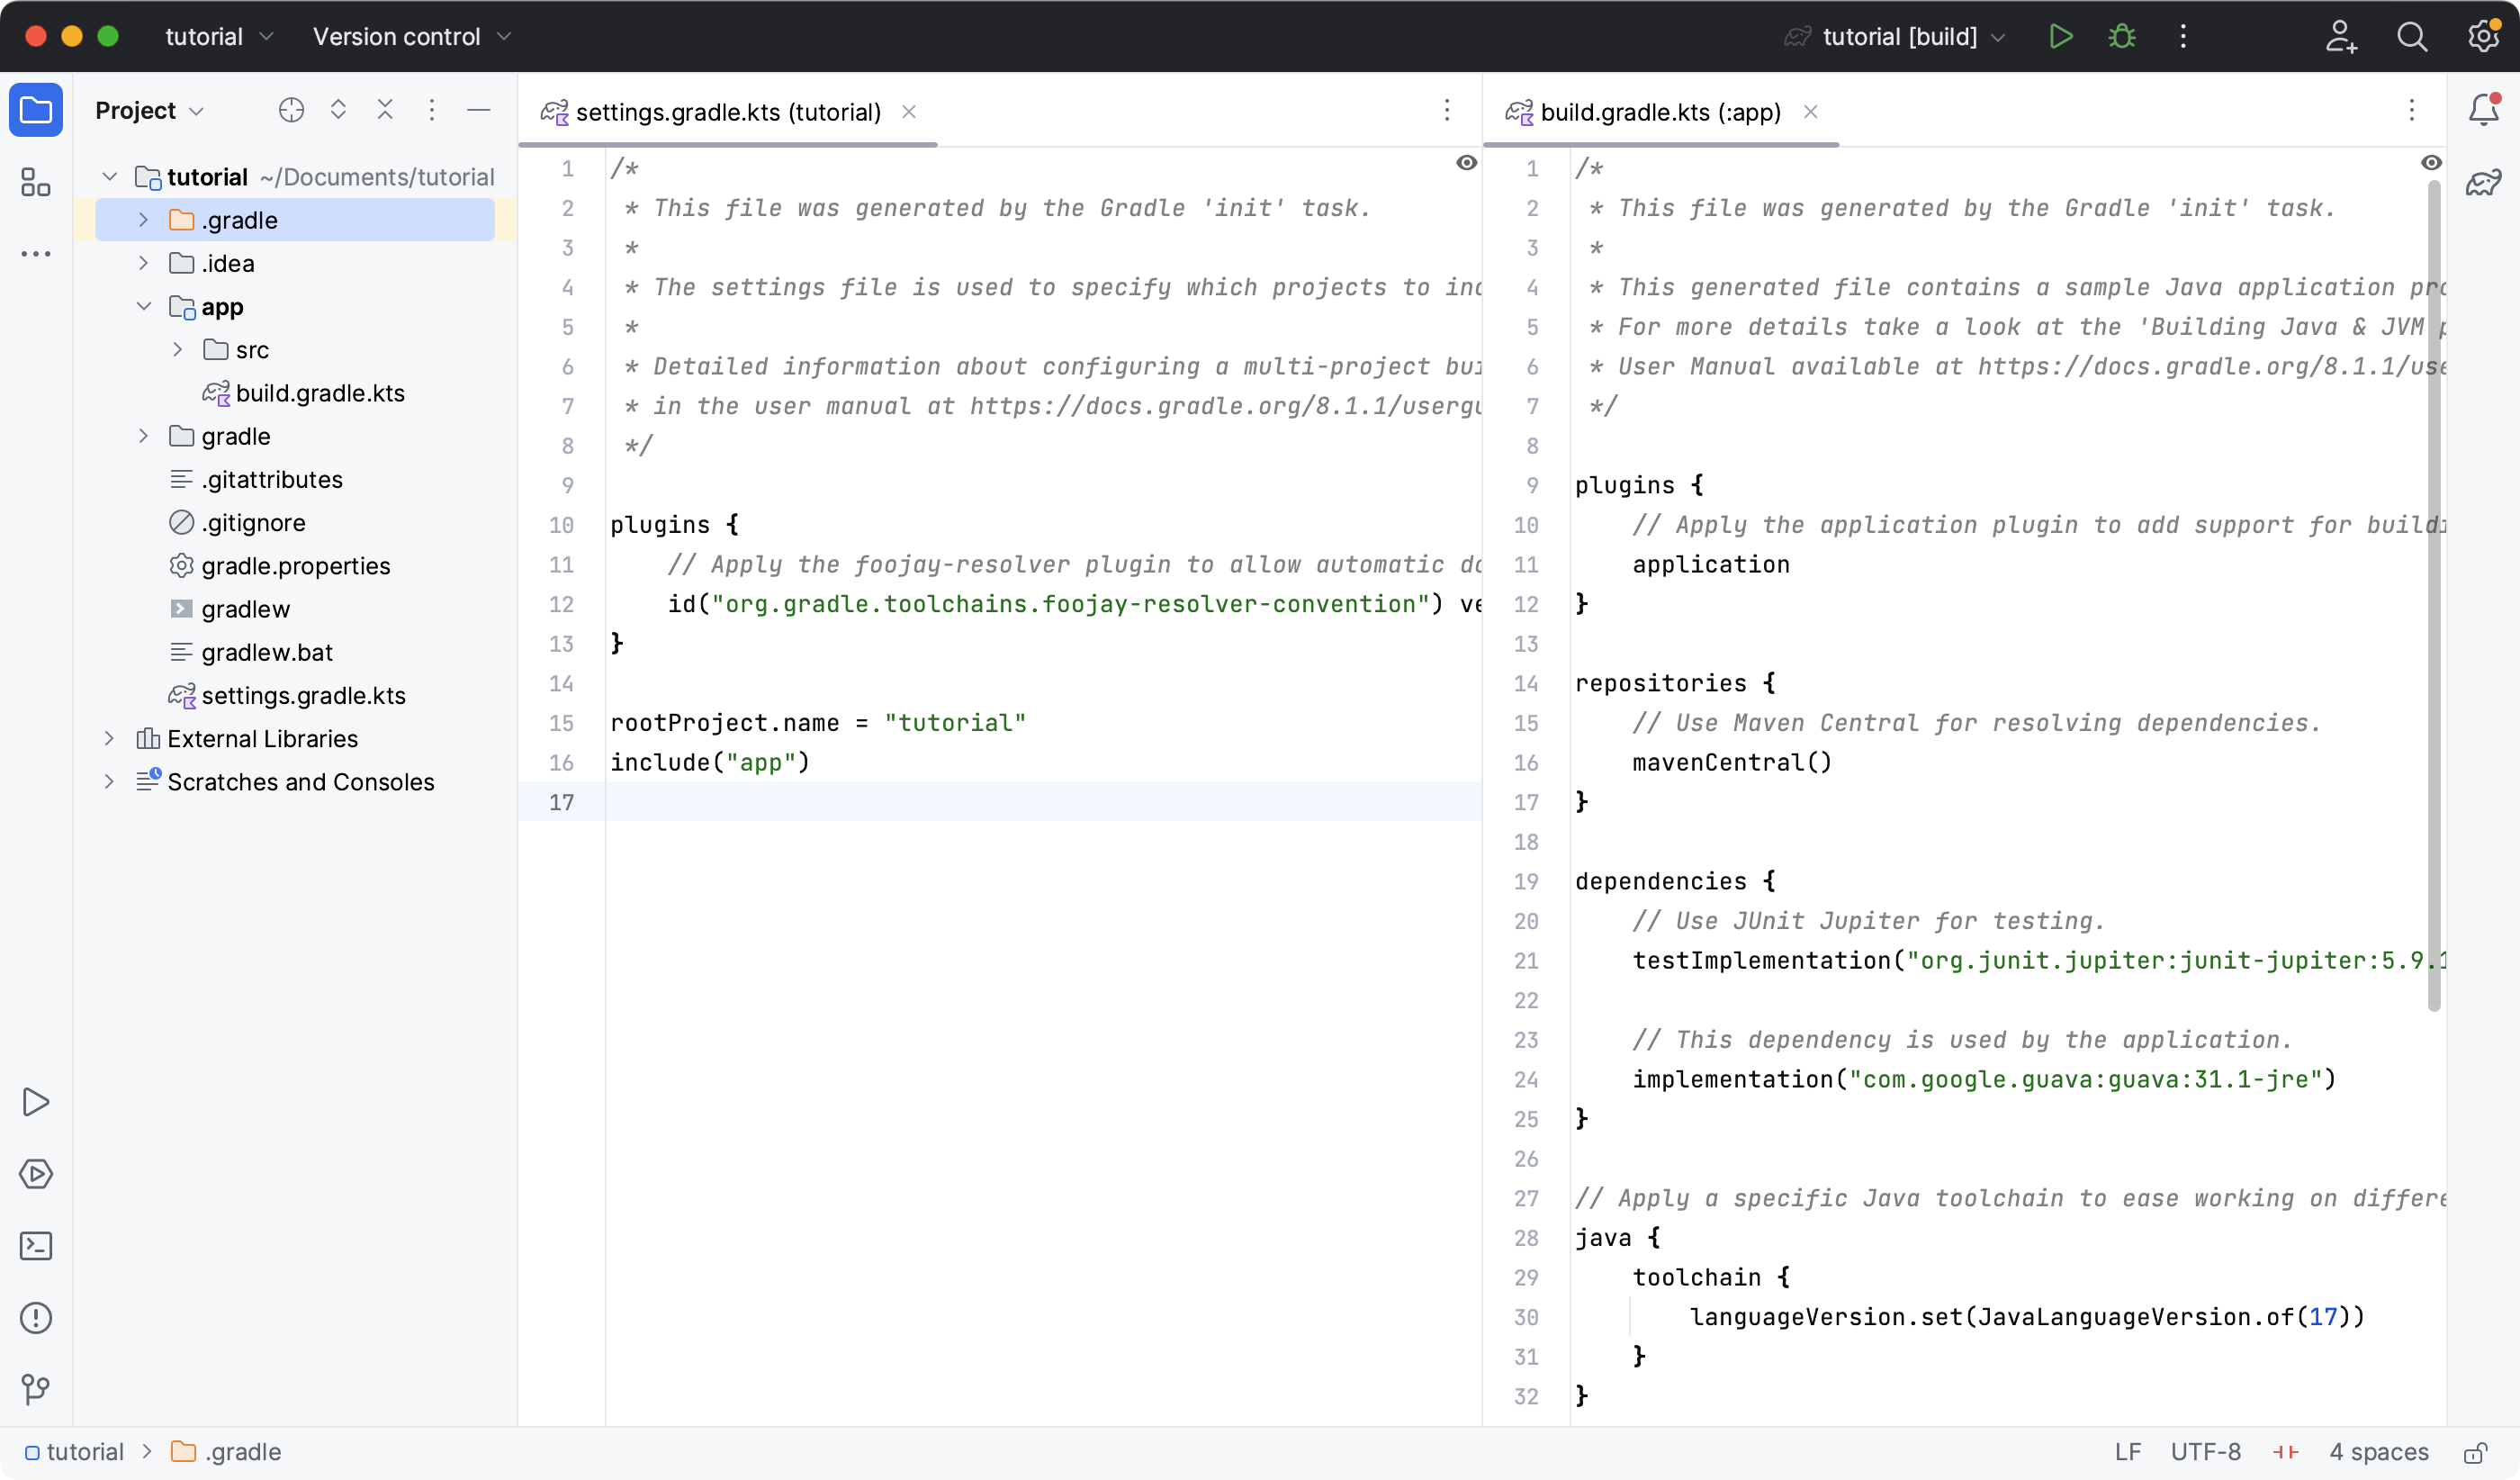
Open the settings.gradle(.kts) and build.gradle(.kts) files in the IDE:

Step 6. Understanding the Settings file
A project is composed of one or more subprojects (sometimes called modules).
Gradle reads the settings.gradle(.kts) file to figure out which subprojects comprise a project build.
Take a look at the file in your project:
plugins {
    // Apply the foojay-resolver plugin to allow automatic download of JDKs
    id("org.gradle.toolchains.foojay-resolver-convention") version "1.0.0"
}

rootProject.name = "tutorial"
include("app")plugins {
// Apply the foojay-resolver plugin to allow automatic download of JDKs
id 'org.gradle.toolchains.foojay-resolver-convention' version '1.0.0'
}
rootProject.name = 'tutorial'
include('app')The tutorial root project includes the app subproject.
The presence of the include call turns the app directory into a subproject.
Step 7. Understanding the Build script
Each subproject contains its own build.gradle(.kts) file.
The build.gradle(.kts) file is the core component of the build process and defines the tasks necessary to build the project.
The build.gradle(.kts) file is read and executed by Gradle.
Take a closer look at the build file in your app subproject (under the app directory):
plugins {   (1)
    // Apply the application plugin to add support for building a CLI application in Java.
    application
}

repositories {
    // Use Maven Central for resolving dependencies.
    mavenCentral()
}

dependencies {  (2)
    // Use JUnit Jupiter for testing.
    testImplementation(libs.junit.jupiter)

    testRuntimeOnly("org.junit.platform:junit-platform-launcher")

    // This dependency is used by the application.
    implementation(libs.guava)
}

// Apply a specific Java toolchain to ease working on different environments.
java {
    toolchain {
        languageVersion = JavaLanguageVersion.of(21)
    }
}

application {   (3)
    // Define the main class for the application.
    mainClass = "org.example.App"
}

tasks.named<Test>("test") {
    // Use JUnit Platform for unit tests.
    useJUnitPlatform()
}plugins { (1)
// Apply the application plugin to add support for building a CLI application in Java.
id 'application'
}
repositories {
// Use Maven Central for resolving dependencies.
mavenCentral()
}
dependencies { (2)
// Use JUnit Jupiter for testing.
testImplementation libs.junit.jupiter
testRuntimeOnly 'org.junit.platform:junit-platform-launcher'
// This dependency is used by the application.
implementation libs.guava
}
// Apply a specific Java toolchain to ease working on different environments.
java {
toolchain {
languageVersion = JavaLanguageVersion.of(21)
}
}
application { (3)
// Define the main class for the application.
mainClass = 'org.example.App'
}
tasks.named('test') {
// Use JUnit Platform for unit tests.
useJUnitPlatform()
}This build script lets Gradle know which dependencies and plugins the app subproject is using and where to find them.
We will look at this in more detail in the following sections.
Next Step: Running Tasks >>
